Installation Guide - Openfiler as Shared Storage in Virtual Enviroment
Well, if you want to setup a home lab, quite possible that many questions will roam around you about hardware configuration, software components, licensing and so on...
#Reference: To know about how to setting up lab at home, refer section Home Lab Preparation Guide.
Next Section: How to Configure Openfiler to use as Shared Storage in Virtual Environment
While setting up environment, there are some dependent components for vSphere features, i;e High Availability, vMotion, Storage Cluster which required kind of shared storage to work on. Storage is one of the most important component required to setup Virtual Infrastructure, and I am sure you would have thinking about that how to get this without any additional cost.
Let's take a insight of this. You are working in Virtual platform, and going to setup home lab for virtual environment. Undoubtedly there is virtual solution to setup storage for your lab, called "OpenFiler".
- It's kind of open source storage management appliance.
- Provides you a simple way to deploy and manage network storage.
- Provides both block-level and file-level storage capabilities.
- iSCSI and FC are supported for block level storages.
- NFS, CIFS, HTTP/DAV, FTP, rsync are supported for file level storages.
- Management is easy through either CLI or GUI mode.
- Allocation of storage space is directly from your system hard drive. No need to buy any additional hardware.
Take a quick look below, have explained here for setting up Openfiler for your lab.
There are different versions of Openfiler. Currently I am explaining about version 2.99 which is running as latest version. It may change with upgrade in near future, but configuration would be quite similar for other versions too.
As mentioned earlier, Openfiler is open source appliance. You just have to download ISO image from below link and install in VMware Workstation as Virtual machine.
Openfiler Download Link: https://www.openfiler.com/community/download
#Reference: To know how to Create Virtual machine in VM Workstation, refer another section Deploy VM in VMware Workstation.
Step by Step Installation Guide for Openfiler:-
Before proceeding for installation, kindly have below requirement for Hardware and Virtualization specification needed to deploy this.
Hardware Requirement:-
- 64-bit 1.6GHz or higher performance processor
- 2GB or higher of RAM
- 2GB disk space for memory swap area
- 8GB disk space for Openfiler OS installation
- 1Gb Ethernet network interface
- Separate storage volumes/disks for data export
- Hardware RAID controller
Virtualization Requirement:-
- 64-bit VMware hypervisor
- VMware Player, VMware Workstation, or VMware ESX Compatible
- Symbios or Buslogic virtual SCSI disk driver
- IDE virtual disk driver
- 2GB minimum virtual RAM
- Virtual network interface
Follow below Steps to Perform the Installation:-
- - Open VMware Workstation in your base machine, or login to ESXi Host through vSphere Client. Create New Virtual Machine.
#Reference: To know how to Install VMware Workstation, refer section Installation of VMware Workstation in Base Machine.
#Reference: To know how to Create Virtual machine in VM Workstation, refer another section Deploy VM in VMware Workstation.
- - Mount openfiler downloaded *.ISO Image in Virtual machine, and power it on.
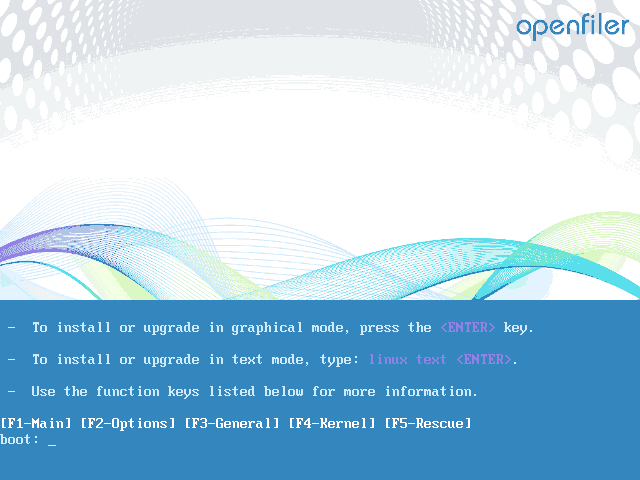
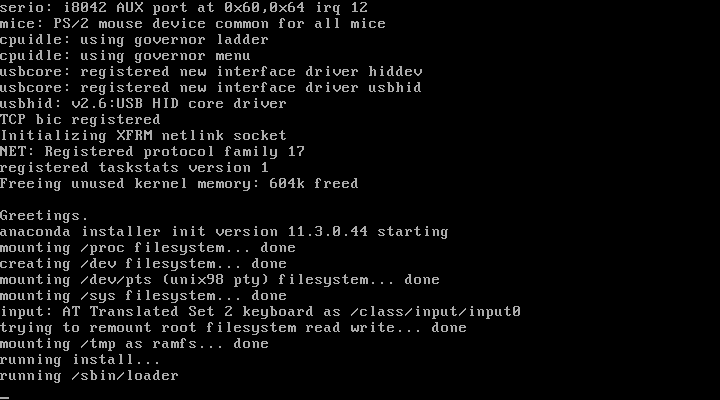
- - When you will boot the VM from ISO image, below screen will appear. Press the Enter key.
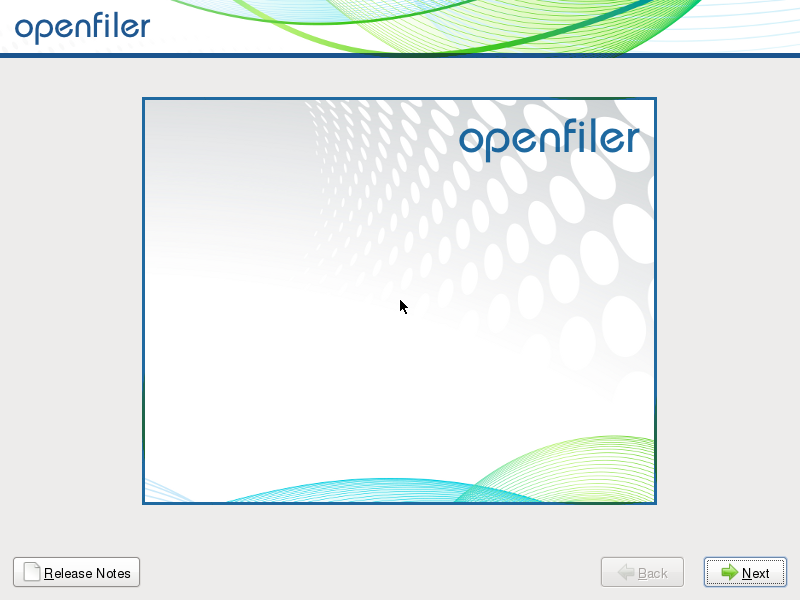
- - It will initiate Installation and will appear as shown in below figure.
- - Click Next to Proceed.
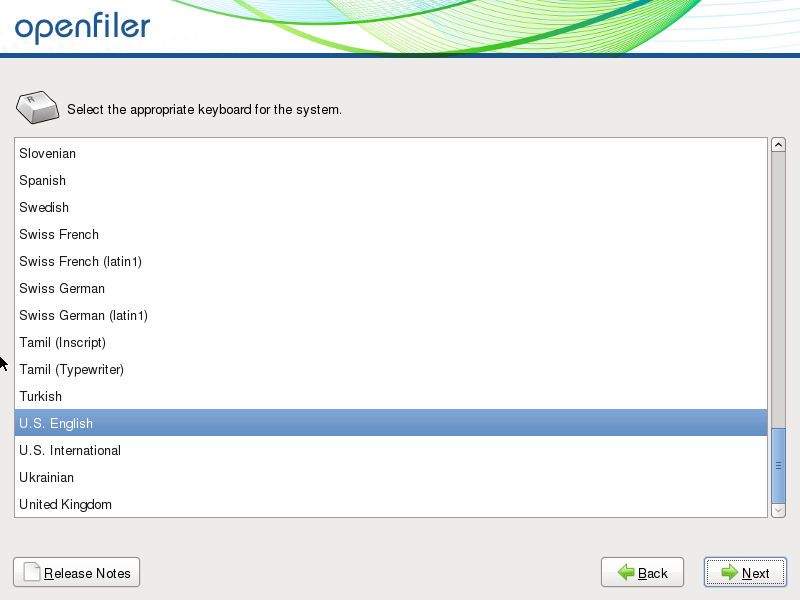
- - Select appropriate keyboard language. Click Next to Proceed.
- - Click Yes on below screen and proceed.

- - Leave default options and click Next.
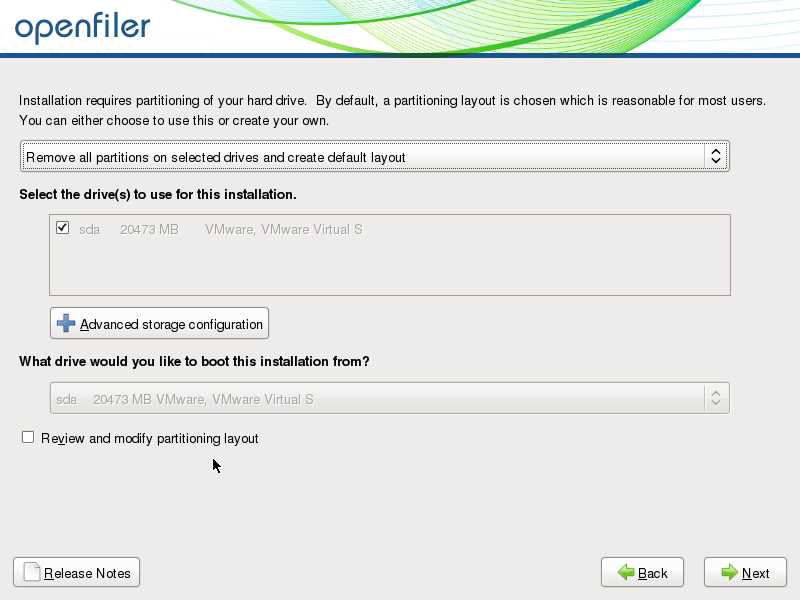
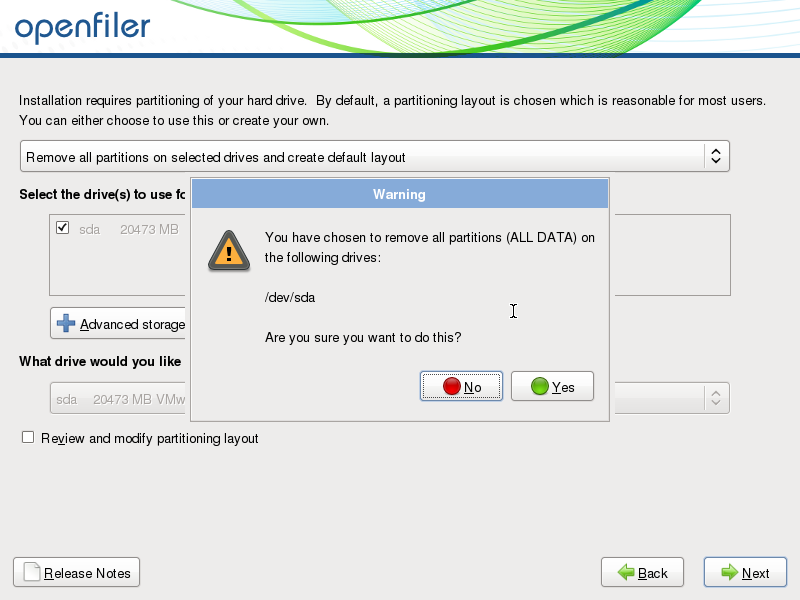
- - It will prompt to remove all partitions on /dev/sda. Click Yes to proceed.
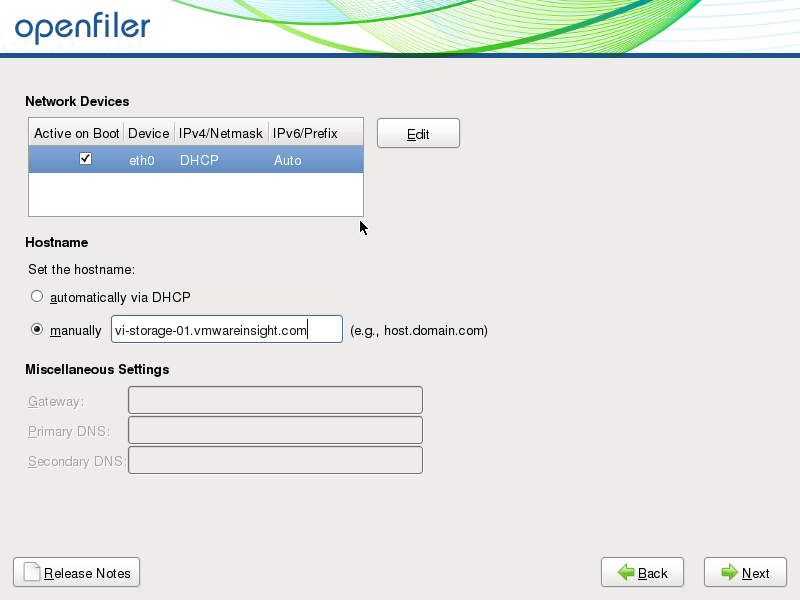
- - Provide FQDN name which want to choose as Hostname for this storage appliance. Click on Edit to do Network Configuration.
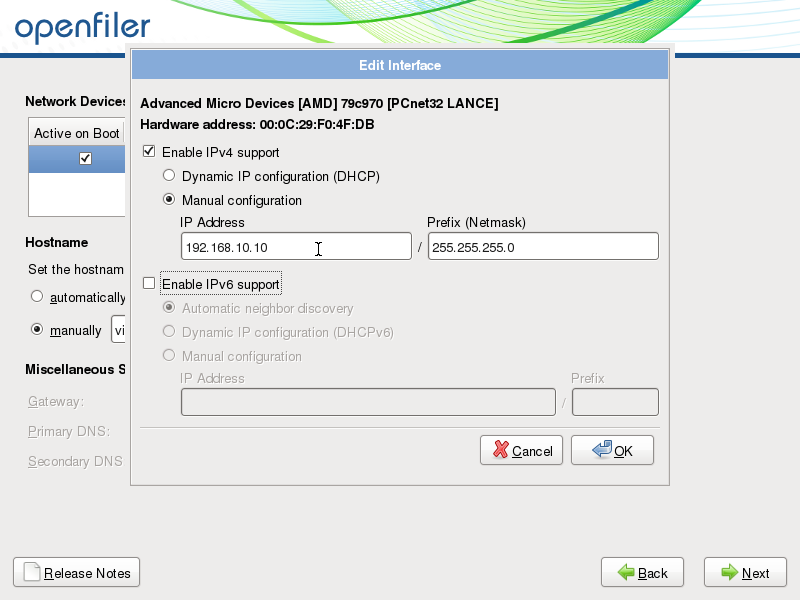
- - Provide Static IP Configuration. Enter IP Address and Subnet Mask. Disable IPv6 support. Click OK .
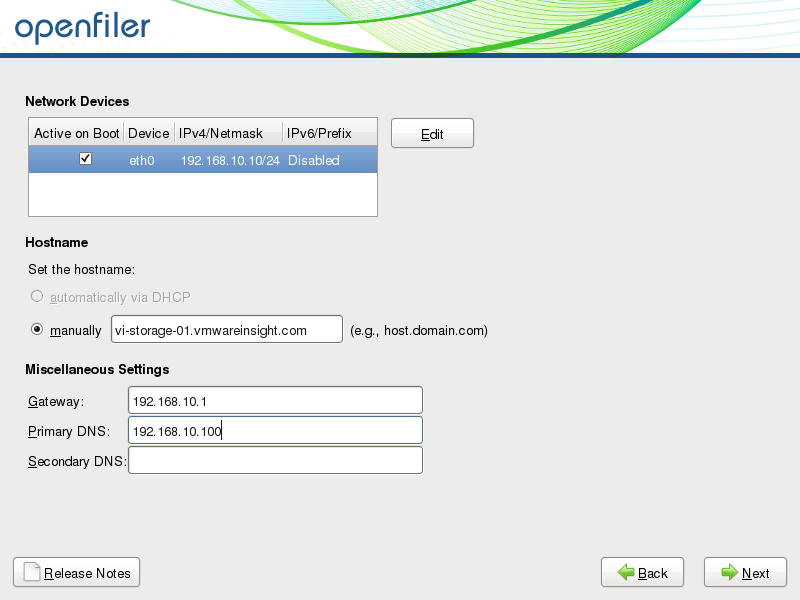
- - Provide Default Gateway and DNS Server IP Address in Miscellaneous Settings. Click Next to proceed.
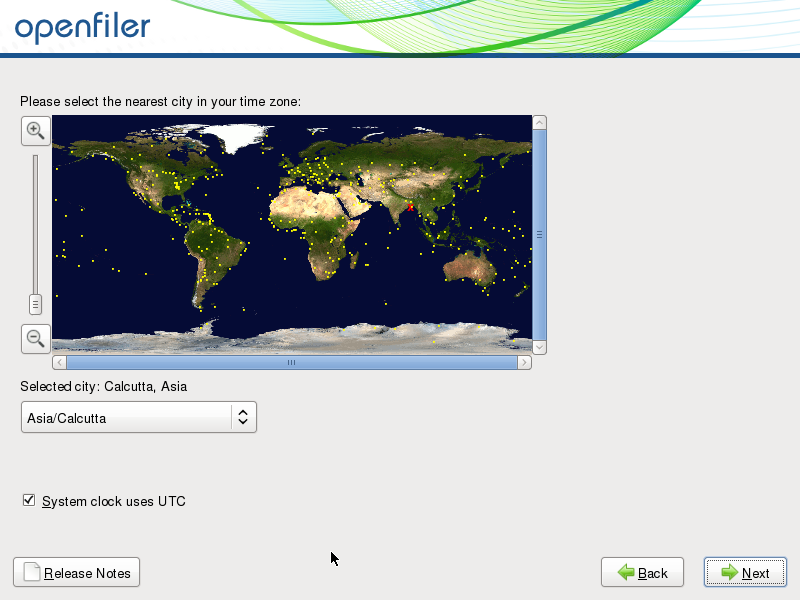
- - Select Time Zone and Click Next.
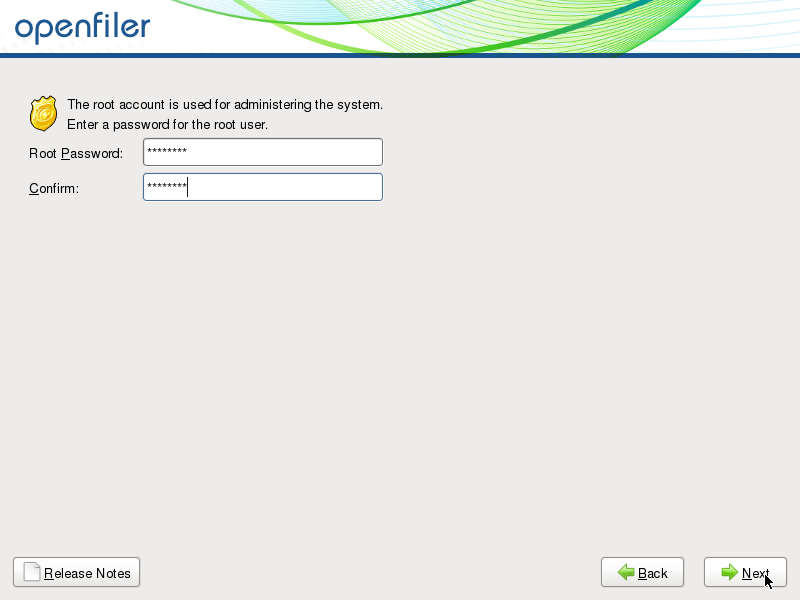
- - Define root Password and Click Next.
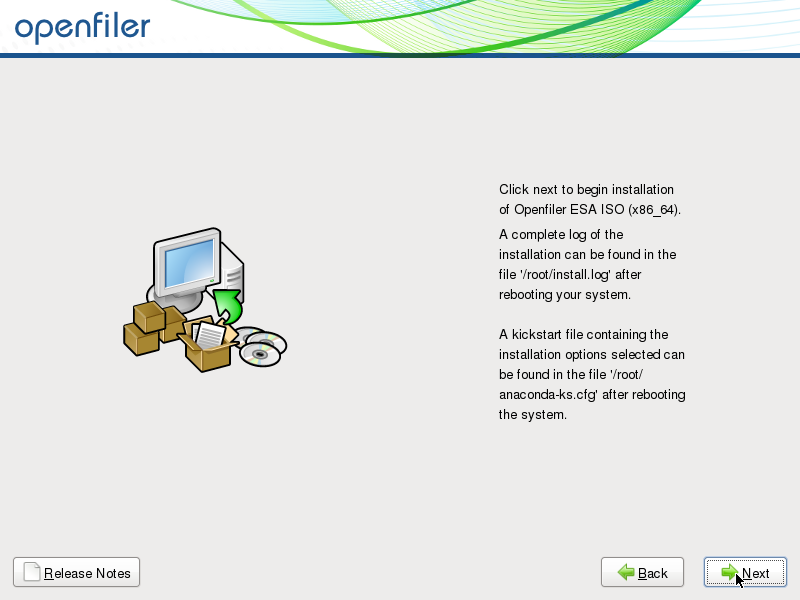
- - Click Next to begin the Installation.
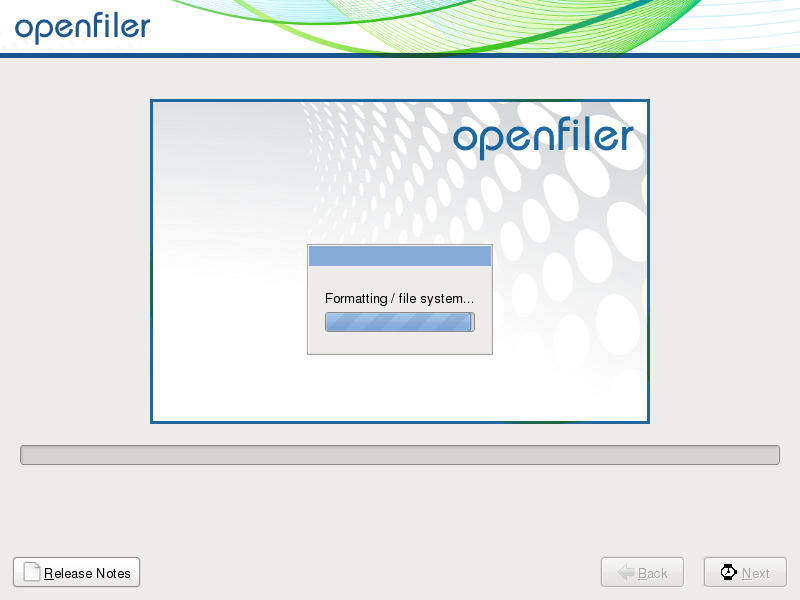
- - Installation has been initiated and will appear as below. It will perform several tasks during this process. Click Next to when highlighted.
- - Installation has been finished. Click Reboot to restart the server.

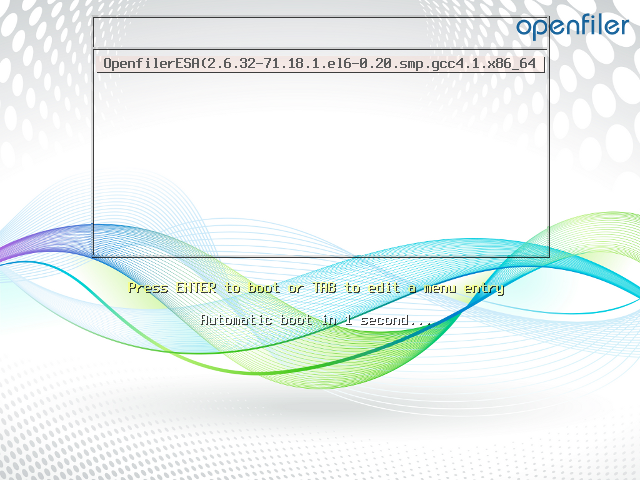
- - Reboot will take few seconds and boot screen will appear as below. Press Enter to boot with openfiler OS.
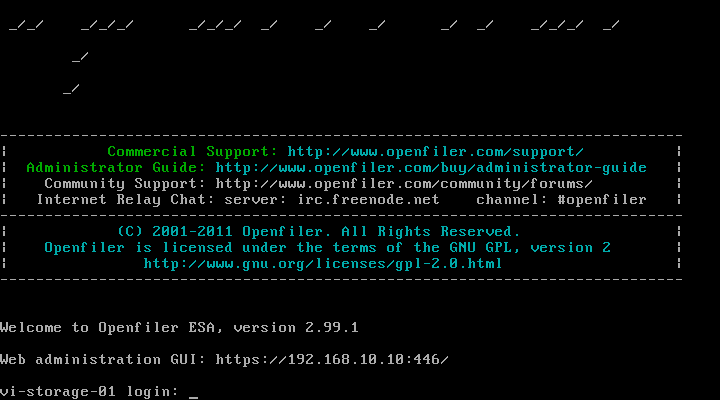
- - Once it's rebooted and boot up process completes, it will take you to this Console. It is direct interface of Openfiler ESA. You can manage it through CLI or Graphical Mode.
- - Open web browser and access URL (https://Openfiler_IPAddress:446/) to manage this through Graphical Interface.
This article has explained about Installation process of Openfiler Appliance. Now configure this appliance to manage shared storage for Virtual Environment.
#Reference: To know how to Configure, refer section Configuration Guide - Openfiler as Shared Storage for Virtual Environment Lab.
-----------------------------------------------
Thanks for vising here and giving your time to read out this article. Put your queries or inputs in comment box.
Be social and share if you liked this post.
Join my Facebook Group https://www.facebook.com/groups/VMwareInsight/
Like my Facebook Page https://www.facebook.com/VMwareInsight/